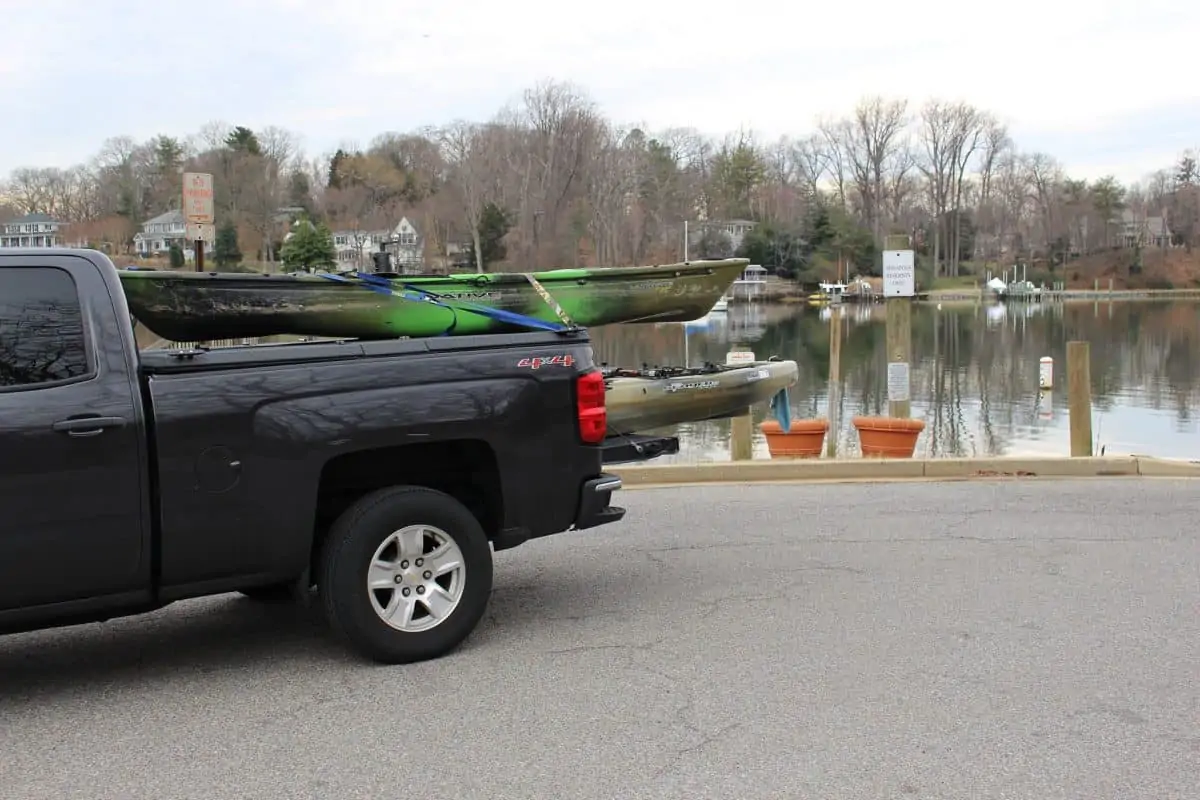
Kayak tying is an essential skill for any kayaker, whether you’re a beginner or an experienced paddler. Properly securing your kayak ensures safety and stability while out on the water, allowing you to fully enjoy your kayaking adventures without worrying about your equipment coming loose or getting damaged. But, do you know how to tie down a kayak?
In this comprehensive guide, I will take you through everything you need to know about kayak tying, from choosing the right knots to mastering advanced techniques. So grab a cup of coffee and get ready to dive into the world of kayak tying.
Key Takeaways
- Kayak tying requires specific knots and techniques to ensure safety and security on the water.
- Choosing the right knots for your kayak depends on the situation and purpose of your trip.
- Essential tools for kayak tying include rope, carabiners, and a knife for cutting excess rope.
- Tying a bowline knot and cleat hitch are essential techniques for securing your kayak.
- Advanced techniques such as the figure eight knot and prusik knot can improve your kayak tying skills.

Introduction to Kayak Tying: What You Need to Know
Kayak tying refers to the process of securing various items on your kayak using different types of knots and hitches. It is crucial for maintaining stability and preventing gear from shifting during paddling trips. Whether it’s attaching gear like dry bags or coolers, securing ropes for towing or rescue purposes, or even anchoring your kayak in place, proper knotting techniques are vital.
The importance of proper kayak tying cannot be overstated. Imagine being out on a remote lake when suddenly one of your ropes comes undone due to improper knotting – not only could this result in damage to your equipment but also pose serious safety risks if it causes instability in rough waters.
To ensure effective and secure ties, there are some basic principles that every kayaker should follow when it comes to kayak tying:
1) Use strong and reliable knots: The strength and reliability of the knots used directly impact their ability to hold up under pressure.
2) Practice makes perfect: Regular practice helps improve muscle memory so that you can tie knots quickly and efficiently.
3) Inspect regularly: Always inspect your knots before heading out on the water as wear and tear can weaken them over time.
Choosing the Right Knots for Your Kayak: A Guide
When it comes to choosing which knot is best suited for a particular task on your kayak, there are several factors to consider. These include the type of material you’re working with, the load it will bear, and the ease of untying when needed.
There are numerous knots commonly used in kayak tying, each with its own unique characteristics and applications. Some popular choices include:
1) The Bowline Knot: This knot is known for its strength and versatility. It creates a secure loop that won’t slip or jam under tension.
2) The Cleat Hitch: Ideal for securing ropes to cleats or other fixed objects on your kayak, this knot allows for easy adjustment and release.
3) The Figure Eight Knot: A reliable knot that is easy to tie and untie, making it perfect for attaching ropes to anchor points on your kayak.
4) The Anchor Hitch Knot: Designed specifically for anchoring purposes, this knot provides a secure hold while still allowing for quick release when needed.
5) The Truckers Hitch: This versatile knot is excellent for creating tension in ropes or straps used to secure gear on your kayak.
Essential Tools for Kayak Tying: What You’ll Need
| Tool/Metric | Description |
|---|---|
| Kayak Tying Kit | A kit that includes all the necessary tools and materials for tying kayak accessories. |
| Scissors | A tool used for cutting and trimming materials such as ropes and cords. |
| Needles | Used for sewing and stitching materials together. |
| Thread | A strong and durable material used for sewing and stitching. |
| Bungee Cord | A stretchy cord used for securing items to the kayak. |
| Shock Cord | A cord that stretches and contracts, used for securing items to the kayak. |
| Carabiners | A metal loop with a spring-loaded gate used for attaching items to the kayak. |
| D-rings | A metal ring shaped like the letter “D” used for attaching items to the kayak. |
| Webbing | A strong and durable material used for securing items to the kayak. |
| Grommets | A metal or plastic ring used for reinforcing holes in materials. |
To effectively tie knots on your kayak, you’ll need a few essential tools. These tools not only make the process easier but also ensure that your knots are properly secured.
1) Rope or Cordage: Choose high-quality rope or cordage that is strong enough to withstand the load it will bear but still manageable enough to tie knots easily.
2) Knife or Scissors: Having a sharp knife or scissors handy is crucial in case you need to cut through rope quickly in emergency situations.
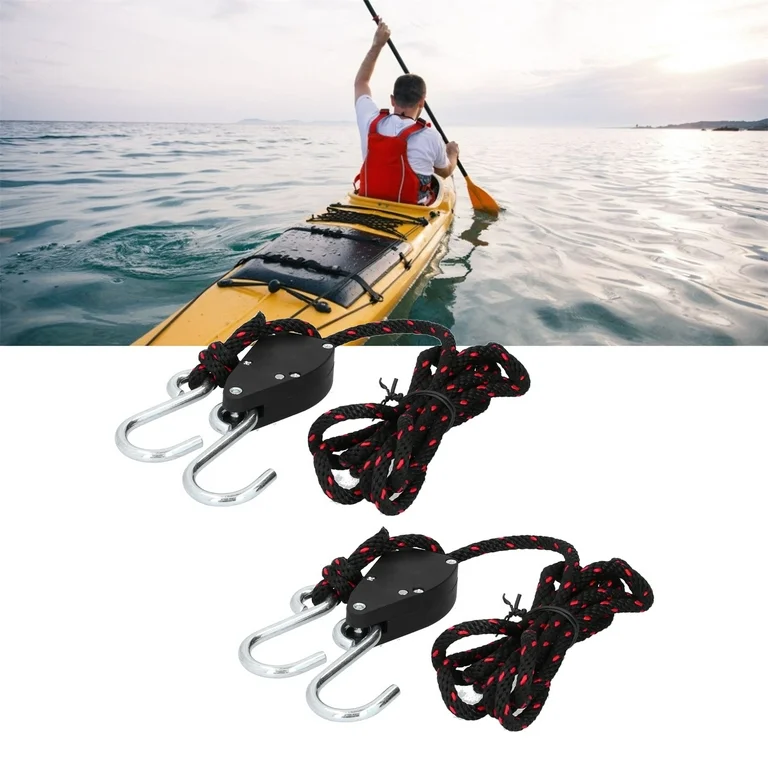
3) Carabiners and Hooks: These can be useful accessories when attaching gear such as dry bags or water bottles securely onto your kayak.
4) Paddle Leash: A paddle leash helps prevent accidental loss of your paddle by securing it to the kayak while paddling.
When selecting these tools, opt for high-quality options that are durable and reliable. Investing in good tools will ensure that they last longer and perform better, giving you peace of mind while out on the water.
Step-by-Step Guide to Tying a Bowline Knot for Your Kayak
The bowline knot is one of the most versatile knots used in kayak tying. It creates a secure loop that won’t slip or jam under tension, making it perfect for attaching ropes to anchor points or securing gear on your kayak.
To tie a bowline knot:
1) Form a small loop near the end of the rope, leaving enough length to work with.
2) Pass the working end of the rope through the loop from underneath.
3) Bring the working end around behind the standing part of the rope.
4) Pass it back through the small loop created earlier.
5) Tighten by pulling both ends simultaneously, ensuring that it forms a secure loop.
Remember to practice tying this knot until you can do it quickly and efficiently without having to think about each step. This muscle memory will come in handy when you need to tie knots on-the-go during your kayaking adventures.
How to Tie a Cleat Hitch for Your Kayak: A Beginner’s Tutorial
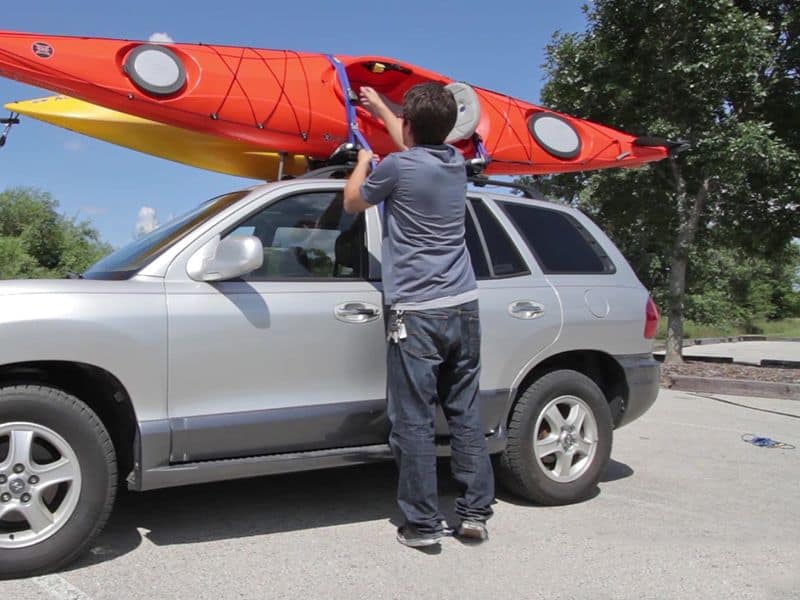
The cleat hitch is an essential knot when it comes to securing ropes onto cleats or other fixed objects on your kayak. It allows for easy adjustment and release while still providing a secure hold.
To tie a cleat hitch:
1) Wrap your rope around one side of the cleat, crossing over itself at an angle.
2) Take another wrap around both sides of the cleat, creating an “X” shape with your rope wraps.
3) Cross over again with another wrap around both sides of the cleat, this time forming an “O” shape between wraps.
4) Finish by tucking one end under itself between wraps and pulling tight.
Practice tying the cleat hitch until you can do it smoothly and quickly. This knot will come in handy when you need to secure ropes to cleats for various purposes, such as towing or anchoring your kayak.
Advanced Kayak Tying Techniques: The Figure Eight Knot
The figure eight knot is an advanced knot that is easy to tie and untie, making it perfect for attaching ropes to anchor points on your kayak. It provides a secure hold while still allowing for quick release when needed.
To tie a figure eight knot:
1) Form a small loop near the end of the rope.
2) Pass the working end of the rope through the loop from underneath.
3) Bring the working end around behind the standing part of the rope.
4) Pass it back through the small loop created earlier.
5) Continue by passing the working end down through the large loop formed by step 4.
6) Tighten by pulling both ends simultaneously, ensuring that it forms a secure figure eight shape.
Mastering this knot will give you confidence in securing your kayak with ease and efficiency. Practice tying it until you can do so without hesitation.
Tips for Securing Your Kayak: Using Anchor Hitch Knot
The anchor hitch knot is specifically designed for anchoring purposes. It provides a secure hold while still allowing for quick release when needed, making it ideal for securing your kayak in place during breaks or fishing sessions.
To tie an anchor hitch knot:
1) Wrap your rope around an anchor point or object on your kayak.
2) Cross over itself at an angle and wrap around again, creating two wraps around both sides of the object.
3) Finish by tucking one end under itself between wraps and pulling tight.
Remember to practice this knot until you can tie it confidently without having to refer back to instructions. This will ensure that you can securely anchor your kayak whenever necessary.
How to Tie a Truckers Hitch for Your Kayak: A Comprehensive Guide
The truckers hitch is a versatile knot that allows you to create tension in ropes or straps used to secure gear on your kayak. It provides a mechanical advantage, making it easier to tighten and secure loads.
To tie a truckers hitch:
1) Begin by tying a slipknot near the end of the rope.
2) Pass the working end of the rope through an anchor point or object on your kayak.
3) Create a loop with the working end and pass it through the slipknot, forming another loop.
4) Pull tight to create tension in the line.
5) Secure by tying off with additional knots such as half hitches or square knots.
Practice tying this knot until you can do it smoothly and efficiently. The truckers hitch will become your go-to knot for securing gear tightly onto your kayak.
Tying a Prusik Knot for Your Kayak: A Must-Know Technique
The prusik knot is an essential technique for kayakers who want to add extra security when attaching ropes or cords together. It creates friction between two lines, allowing one line to grip another without slipping.
To tie a prusik knot:
1) Form a small loop with one line and pass it over another line.
2) Bring both ends of the loop behind both lines and pass them back through the loop from underneath.
3) Tighten by pulling all four ends simultaneously until it grips securely.
Mastering this technique will give you added confidence in securing different lines together while out on your kayaking adventures.
Common Mistakes to Avoid When Tying Your Kayak
While learning how to tie knots properly is crucial, it’s equally important to be aware of common mistakes that can compromise their effectiveness. Here are some common mistakes made in kayak tying:
1) Insufficient tightening: Failing to tighten knots properly can result in them coming loose or slipping under tension.
2) Incorrect knot selection: Choosing the wrong knot for a specific task can lead to instability or even equipment damage.
3) Lack of regular inspection: Neglecting to inspect knots before each outing can result in weakened knots that may fail when you need them most.
To avoid these mistakes, always take the time to double-check your knots, choose the appropriate knot for each task, and regularly inspect your kayak’s ties for wear and tear.
Mastering the Art of Kayak Tying
In conclusion, mastering the art of kayak tying is essential for any kayaker who wants to ensure safety and stability while out on the water. By choosing the right knots, using high-quality tools, and practicing various techniques, you’ll be able to secure your gear effectively and confidently.
Remember that practice makes perfect when it comes to kayak tying. Regularly review different knotting techniques and practice them until they become second nature. With time and experience, you’ll develop a strong foundation in kayak tying that will enhance your overall kayaking experience.
So go ahead – grab your ropes, tie those knots with confidence, and embark on unforgettable kayaking adventures knowing that everything is securely fastened. Happy paddling!
FAQs
What is kayak tying?
Kayak tying is the process of securing gear and equipment to a kayak using various knots and techniques.
Why is it important to know how to tie knots for kayaking?
Knowing how to tie knots for kayaking is important for safety and convenience. Properly securing gear and equipment can prevent accidents and ensure that items are easily accessible when needed.
What are some common knots used for kayak tying?
Some common knots used for kayak tying include the bowline knot, the trucker’s hitch, the clove hitch, and the figure-eight knot.
What equipment is needed for kayak tying?
Equipment needed for kayak tying includes ropes or straps, carabiners, and bungee cords.
What are some tips for mastering the art of kayak tying?
Some tips for mastering the art of kayak tying include practicing knots regularly, using high-quality equipment, and learning from experienced kayakers or instructional materials.
Originally posted 2024-01-15 06:36:06.